
This project was to add an MCU with a camera and wifi to a RoboSapien V1. The XIAO ESP32S3 Sense is a good MCU which is easily programmable and includes WiFi and a small camera. I used a length of stiff household AC wire like a selfie stick to mount the ESP32 MCU behind the RoboSapien. It gives a 3rd person view of the toy and has an infrared LED added to it to shine the toy's remote control's protocol at the toy so that it can control the toy as well as film it. I just used the Arduino IDE to program the MCU. I added the LED on the D9 GPIO pin of the MCU.
I made very minimal modifications to the toy to find the 5V supply and add a USB-C cable that can be plugged into the MCU to power it. I found 5V and added the cable to a point that is always on whether the toy is on or off. As long as the batteries are charged, the cable has to be unplugged to turn the MCU off.
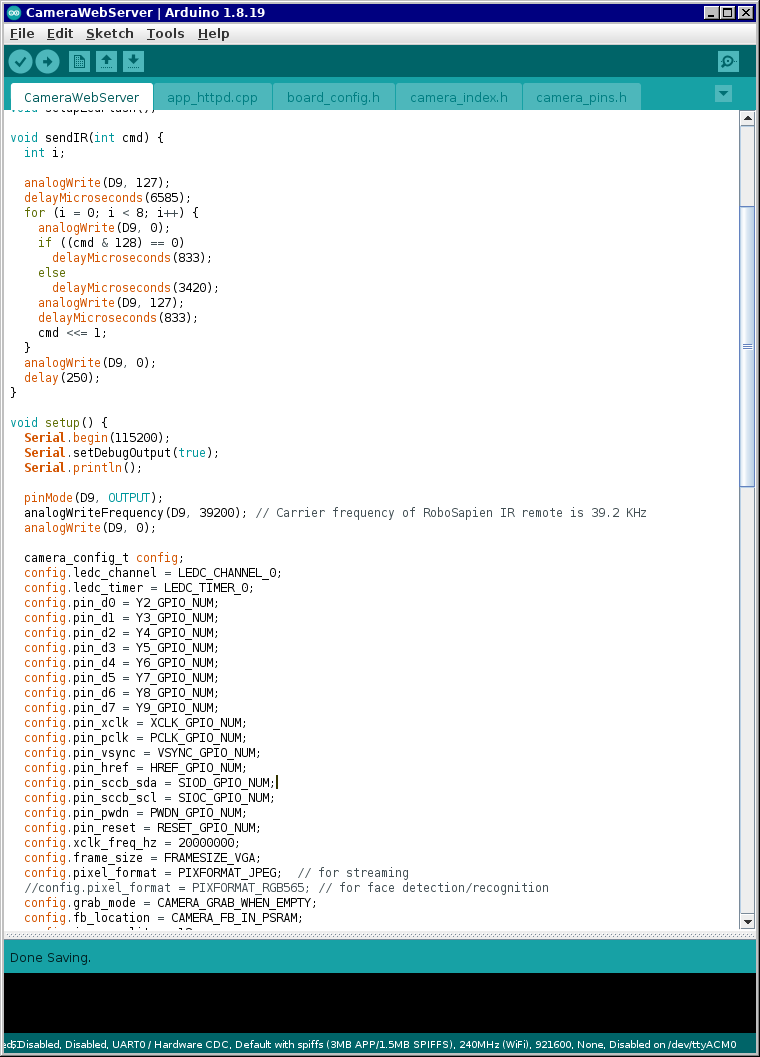
I started with the CameraWebServer example sketch and made a few changes. In the setup function of the Arduino sketch I added a few lines to set the D9 pin up for the infrared remote's protocol:
  pinMode(D9, OUTPUT);
  analogWriteFrequency(D9, 39200); // Carrier frequency of RoboSapien IR remote is 39.2 KHz
  analogWrite(D9, 0);
Above the setup function I also wrote a short function to send the RoboSapien commands. The remote sends a protocol that encodes some different byte values as different commands for the toy. There are commands to walk forward, backward, stop, spin left or right, move the arms around, and a few other things. Each command has a byte value. I found tables of these and descriptions of the toy's protocol on other websites people made for RoboSapien projects. This is the function I wrote to send the commands:
void sendIR(int cmd) {
  int i;

  analogWrite(D9, 127);
  delayMicroseconds(6585);
  for (i = 0; i < 8; i++) {
    analogWrite(D9, 0);
    if ((cmd & 128) == 0)
      delayMicroseconds(833);
    else
      delayMicroseconds(3420);
    analogWrite(D9, 127);
    delayMicroseconds(833);
    cmd <<= 1;
  }
  analogWrite(D9, 0);
  delay(250);
}
So the sketch was edited to look about like this picture shows. I also changed a bunch of settings to default to 640x480 JPEGs. The camera was set up to send an MJPEG stream as the video stream.
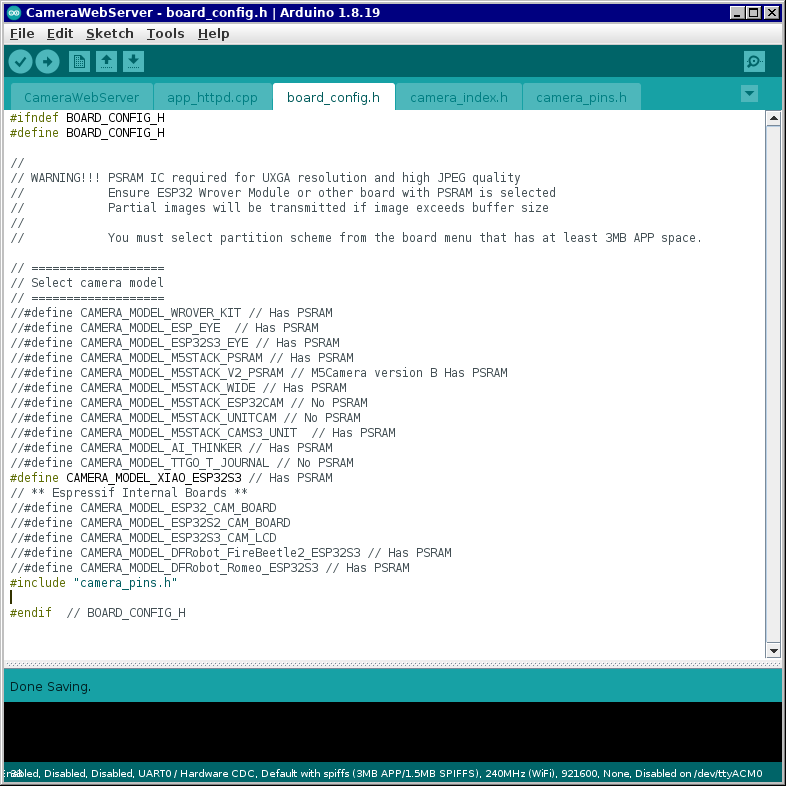
Some things had to be set correctly for this to be compiled specifically for the XIAO ESP32S2 Sense. The settings for the specific MCU board in the IDE's Tools menu also had to be correct.
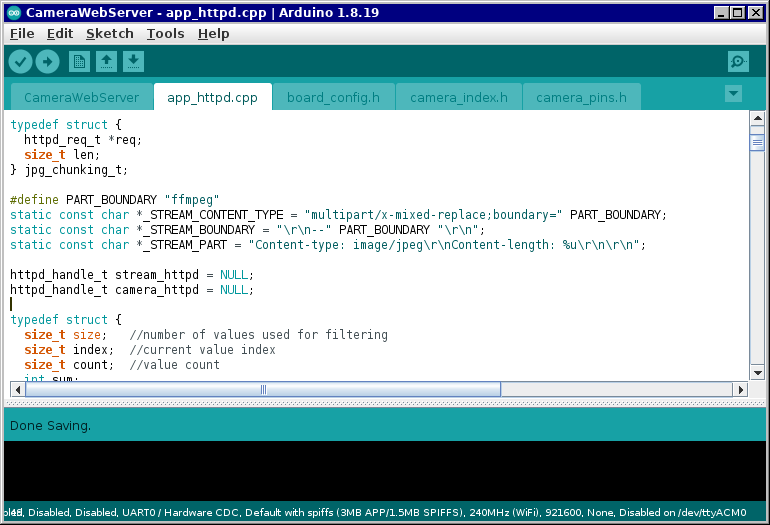
I changed the sketch's HTTPD to send exactly the same MJPEG headers as FFMPEG so that it will be compatible with things made for FFMPEG:
The sketch also has many HTTPD endpoints that I'm not going to use. At port 81 I still send the MJPEG but at port 80 I only have the index page which is where the byte value commands for the toy can be sent:
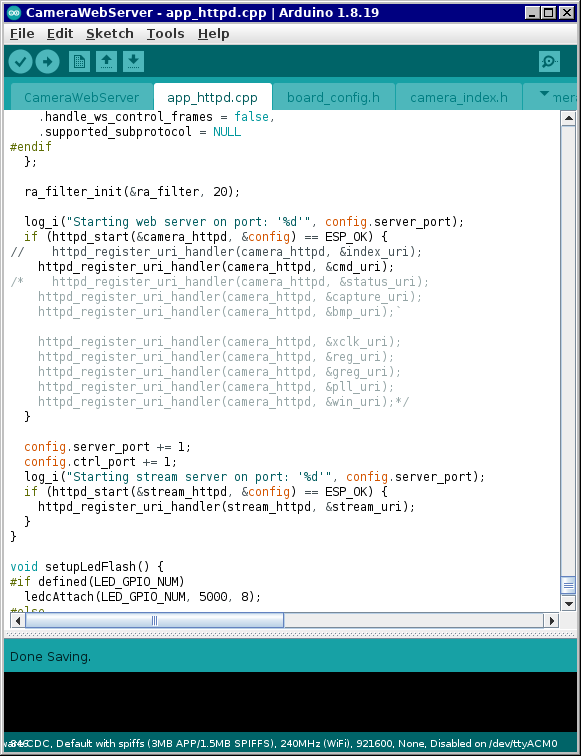
And finally the code for the index endpoint where the command byte values are sent:

Notice the index page endpoint now calls the sendIR function which I added to the main sketch. The endpoint to control the toy is at http://mcu.ip.address:80/?cmd=[Command Byte Value].
Next I am going to make a small rake and clippers and stuff for the robot and charge you bitcoin to do landscaping for people through twitch.tv.
